Here you can get an idea about setup an email account and assigning email scenarios to that email account in D365 BC.
How to add an email account
Follow the below steps to add email accounts to Business Central.
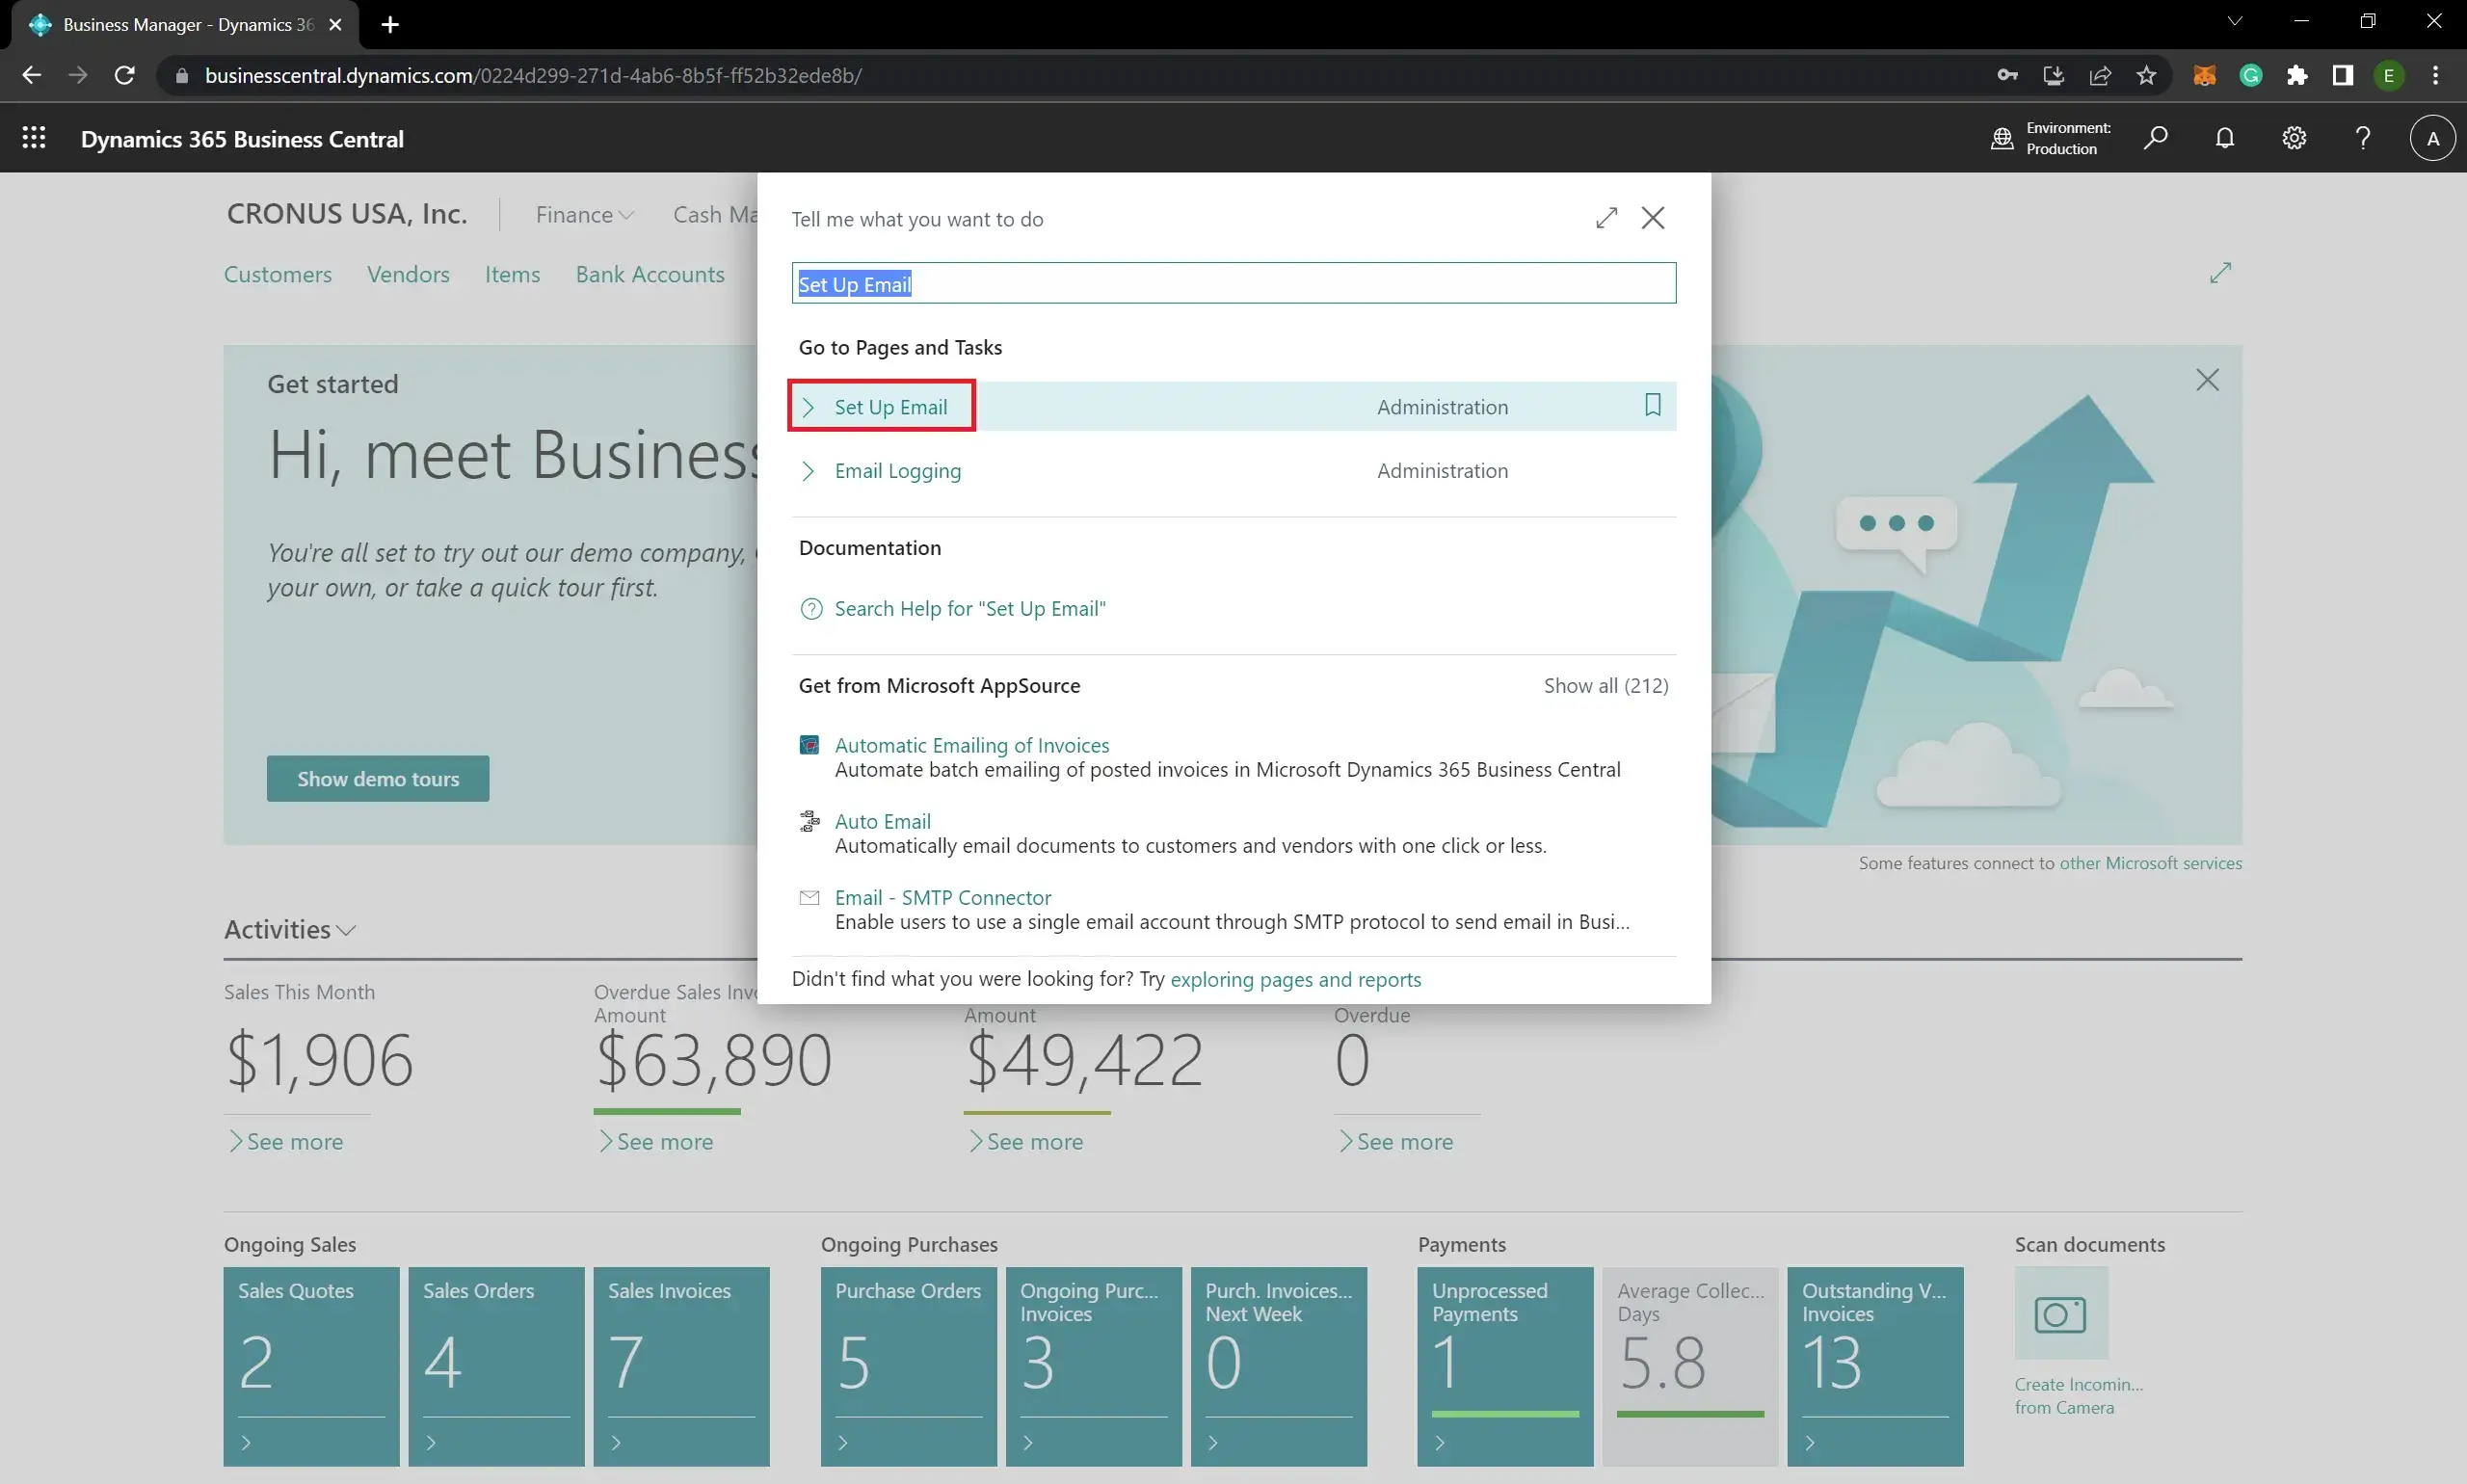
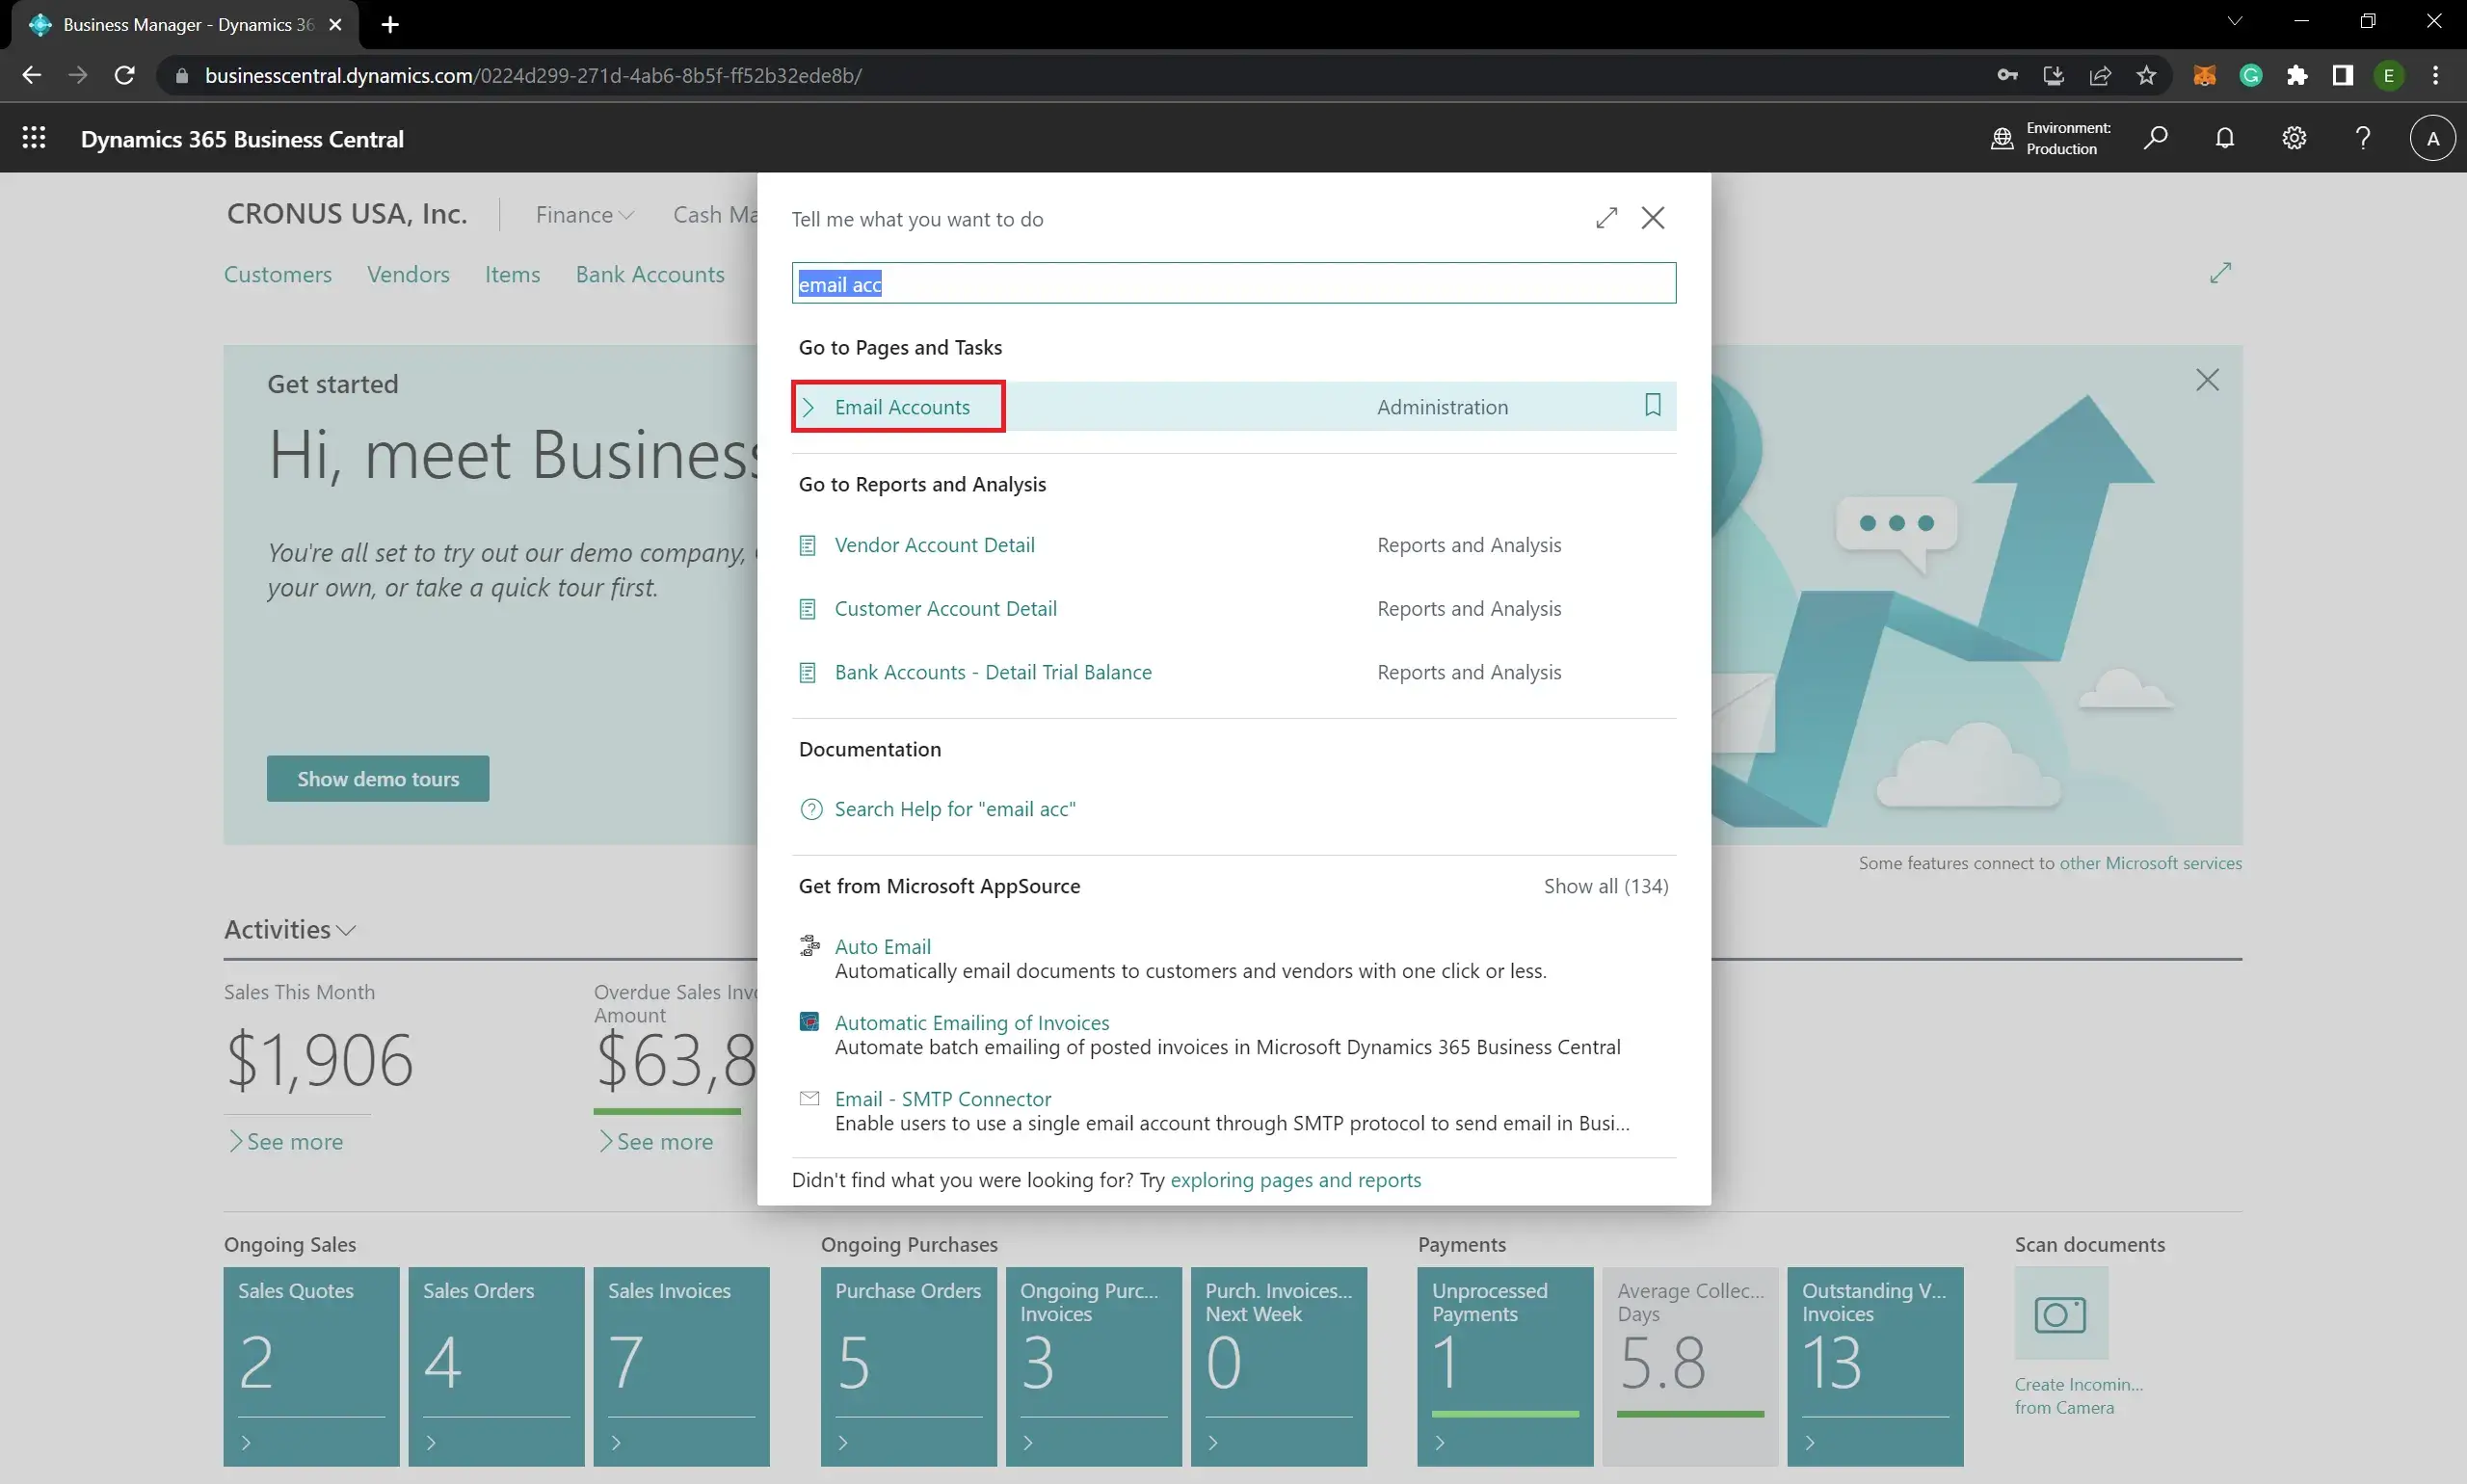
- Search as “Set Up Email” and click Set Up Email:

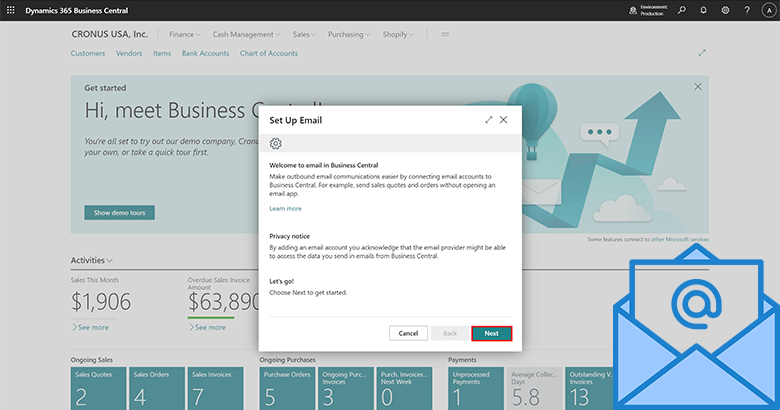
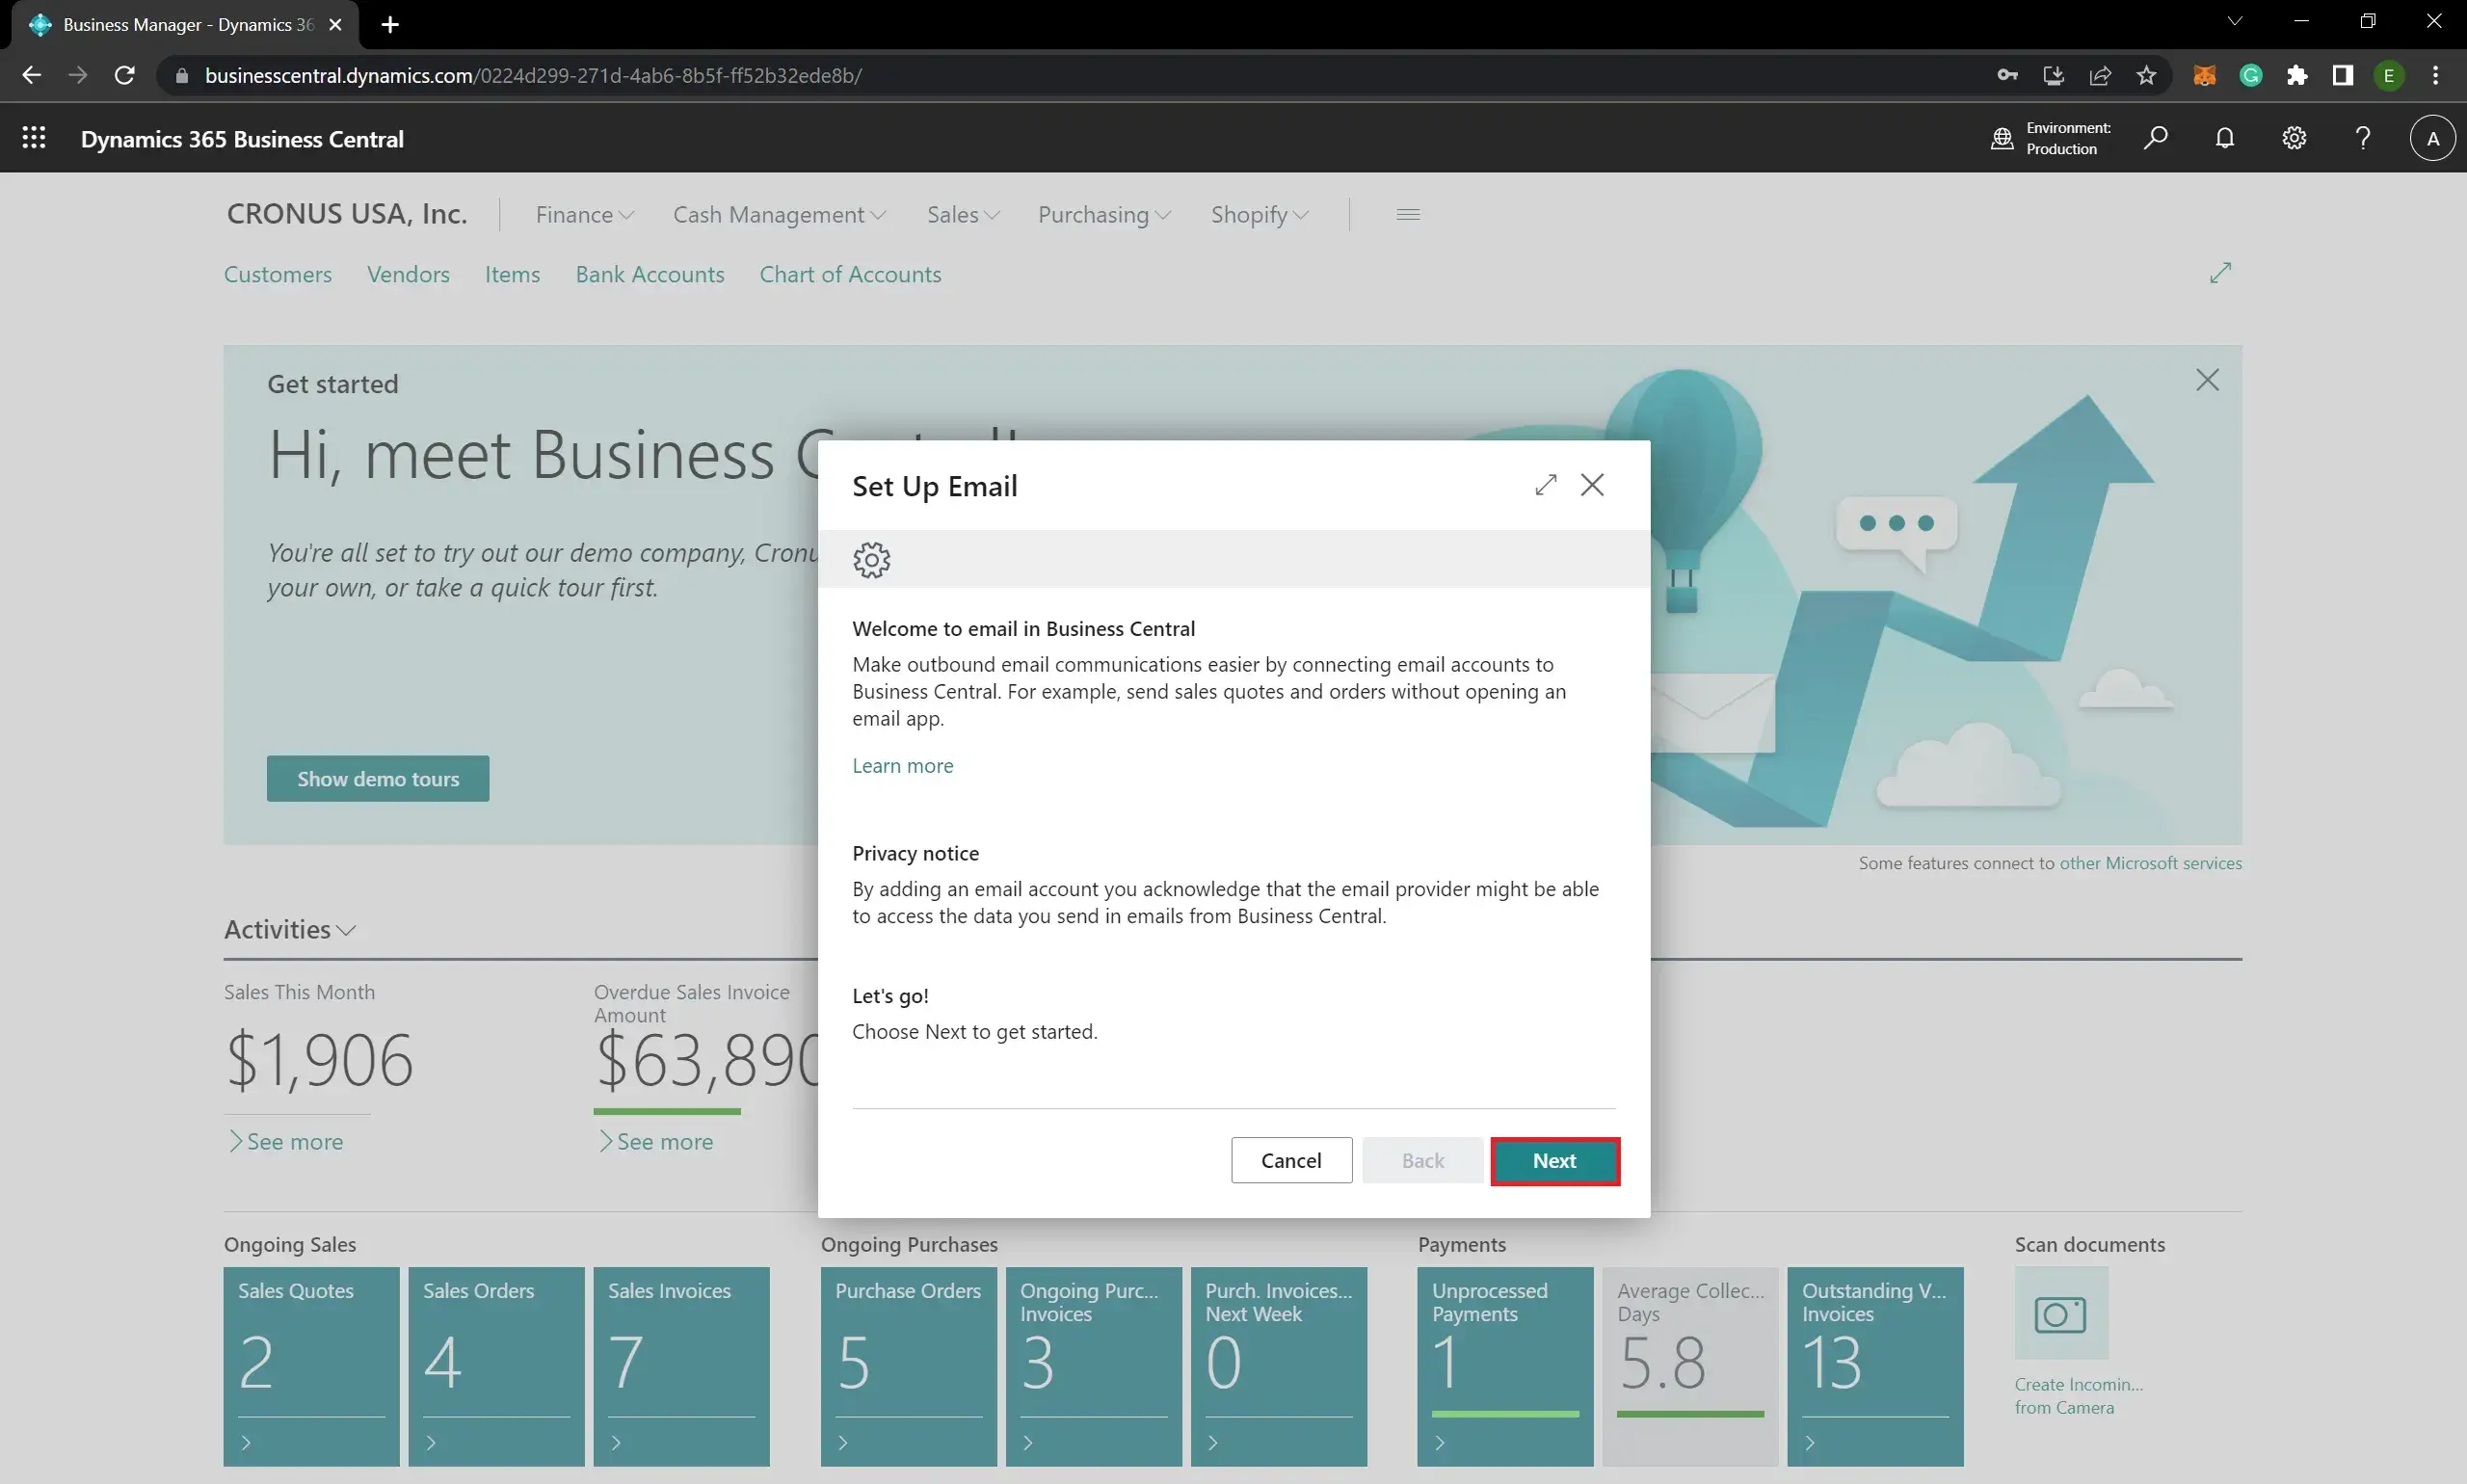
- Click Next:
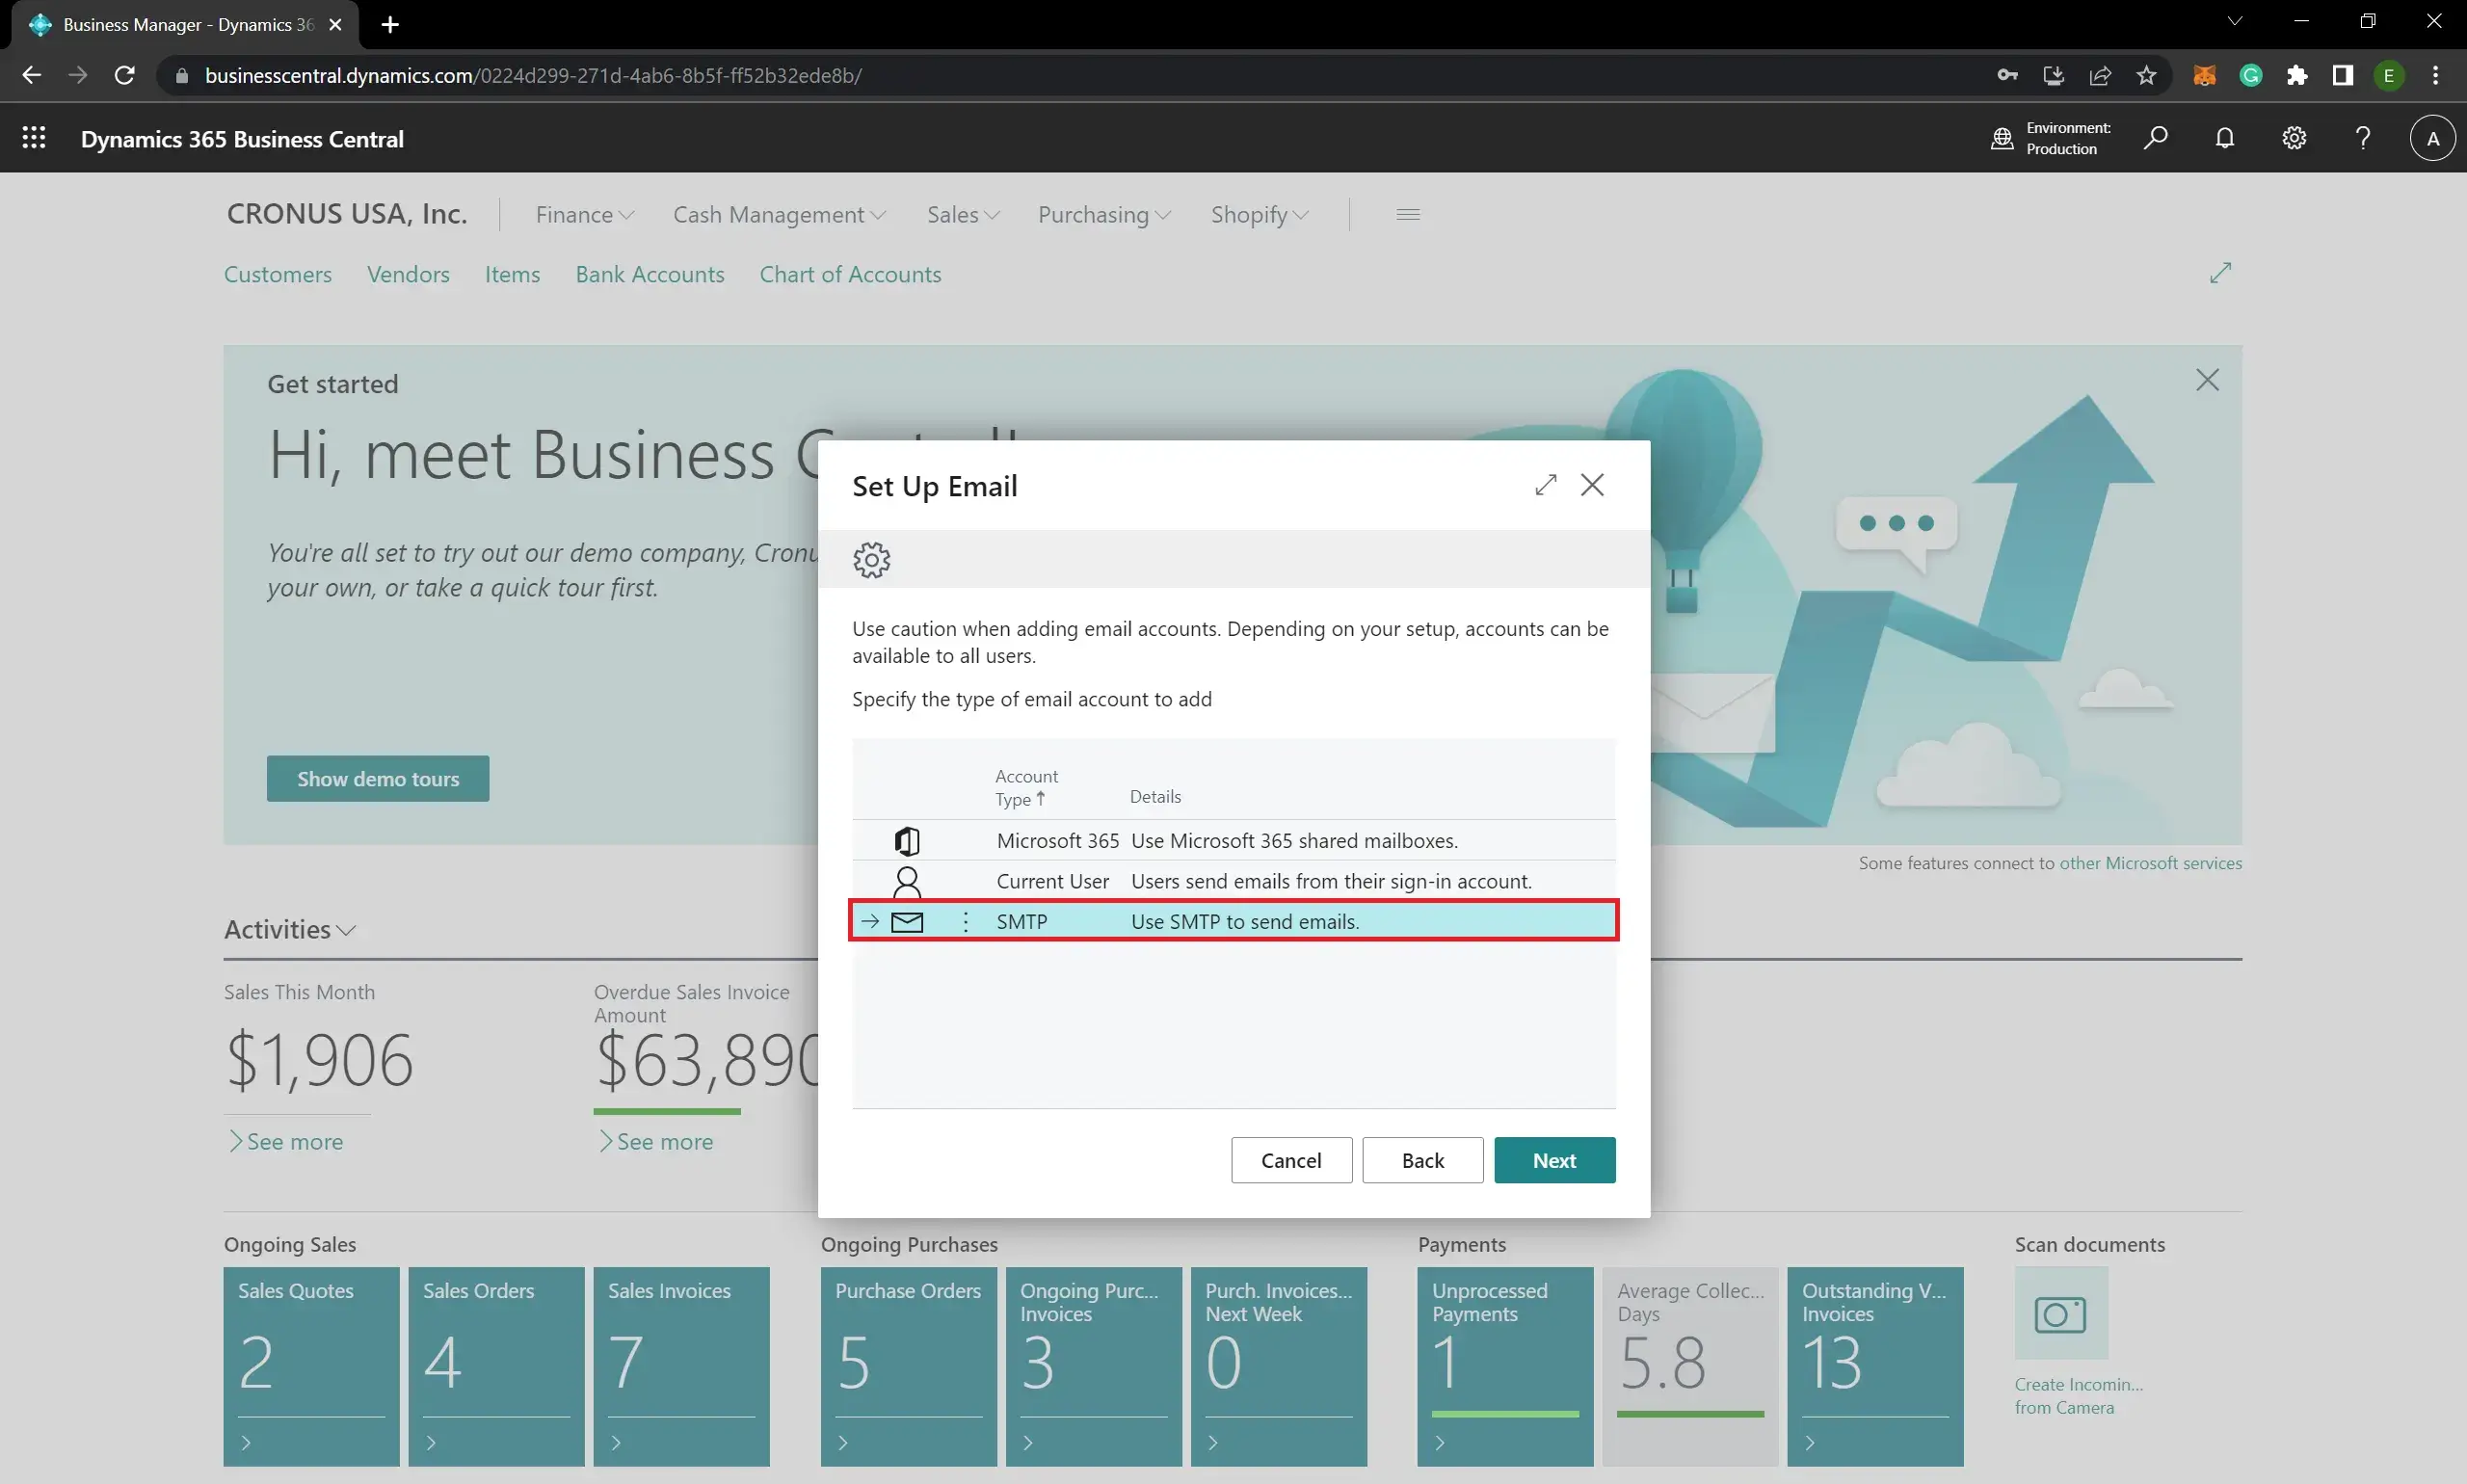
- There are three options to select as per the below:
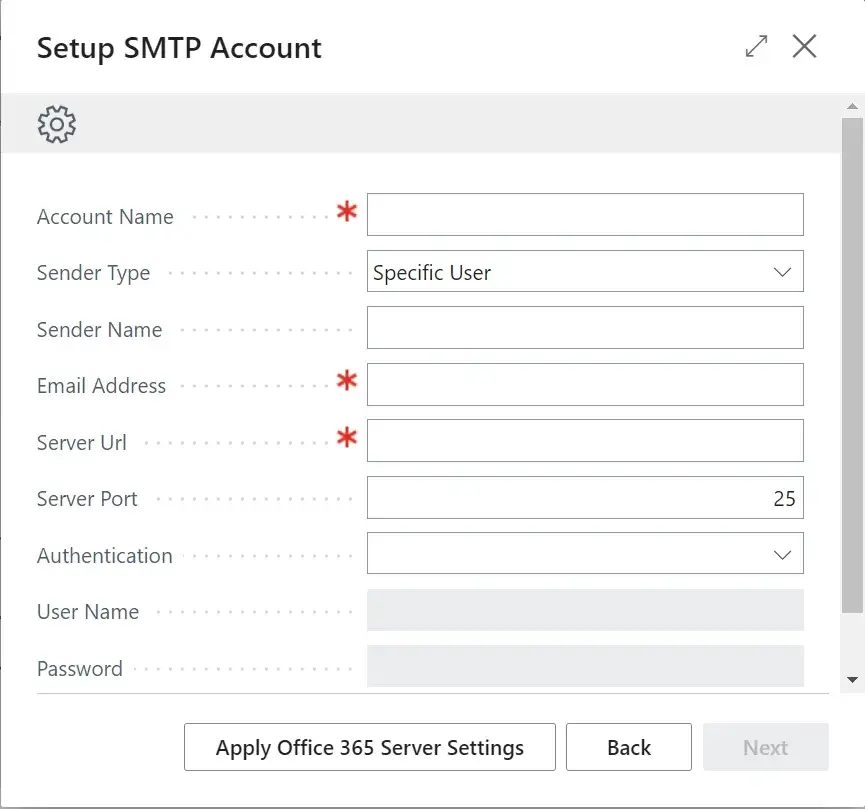
After selecting an option click Next: click Next (I select the SMTP option):Extension Description Examples of when to use Microsoft 365 Connector Everyone sends email from a shared mailbox in Exchange Online. When all messages come from the same department, for example, your sales organization sends messages from a [email protected] account. This option requires that you set up a shared mailbox in the Microsoft 365 admin center. For more information, see Shared mailboxes. Current User Connector Everyone sends email from the account they used to sign in to Business Central. Allow communications from individual accounts. SMTP Connector Use SMTP protocol to send emails. Allow communications through your SMTP mail server. - Fill the details:

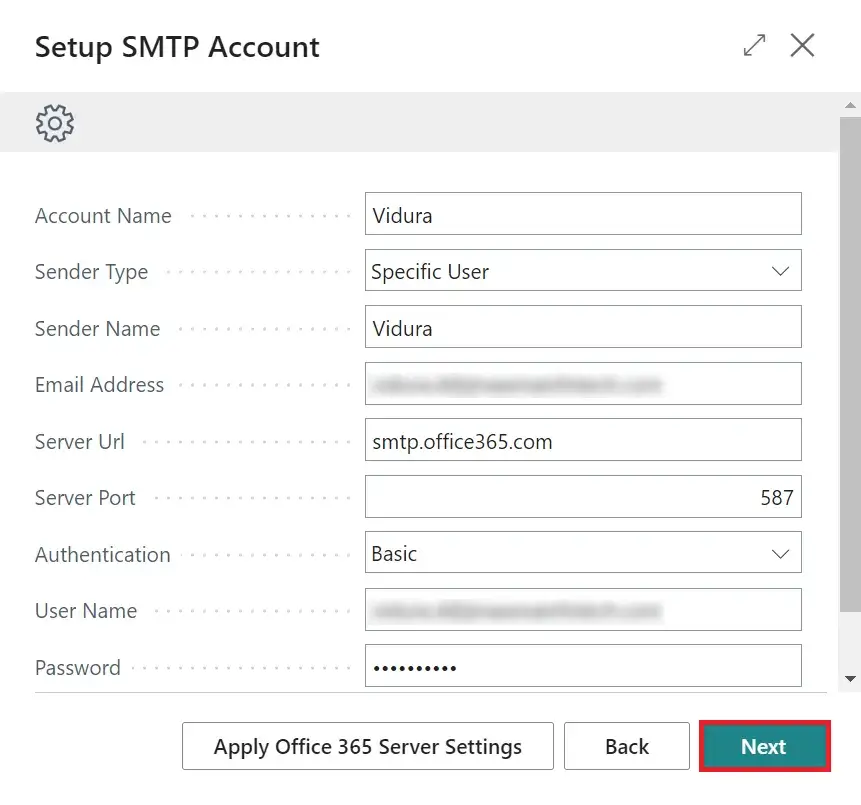
If you use an Office 365 mail account, to apply the default server setting, click Apply Office 365 Server Settings: - After filling in the email account and authentication details click Next:
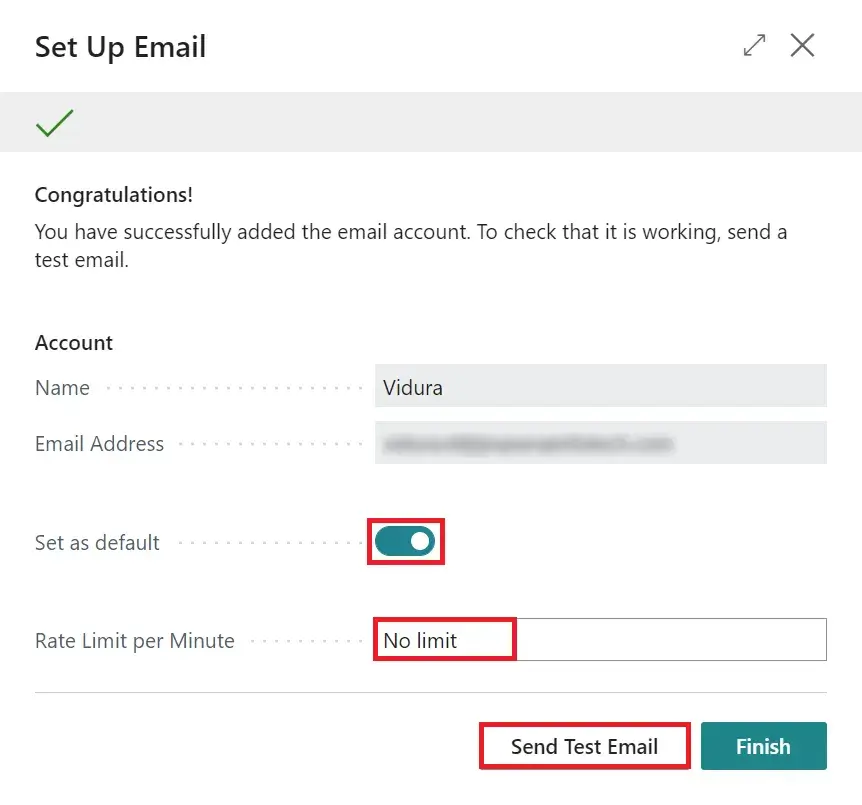
- Now the email account is added successfully. You can set it as the default account by enabling Set as default and also you can specify the maximum number of emails per minute the account can send by adding value to the Rate Limit per Minute field. Before finishing the setup you can test the email configurations by sending a test email clicking by Send Test Email button:

- Click Finish to exit the setup.

How to assign email scenarios for the email account
As an example, if you want to use the added email account to send a sales order confirmation report as an email to the customer, you have to assign the Sales Order scenario to the email account. Let’s see how to do that.
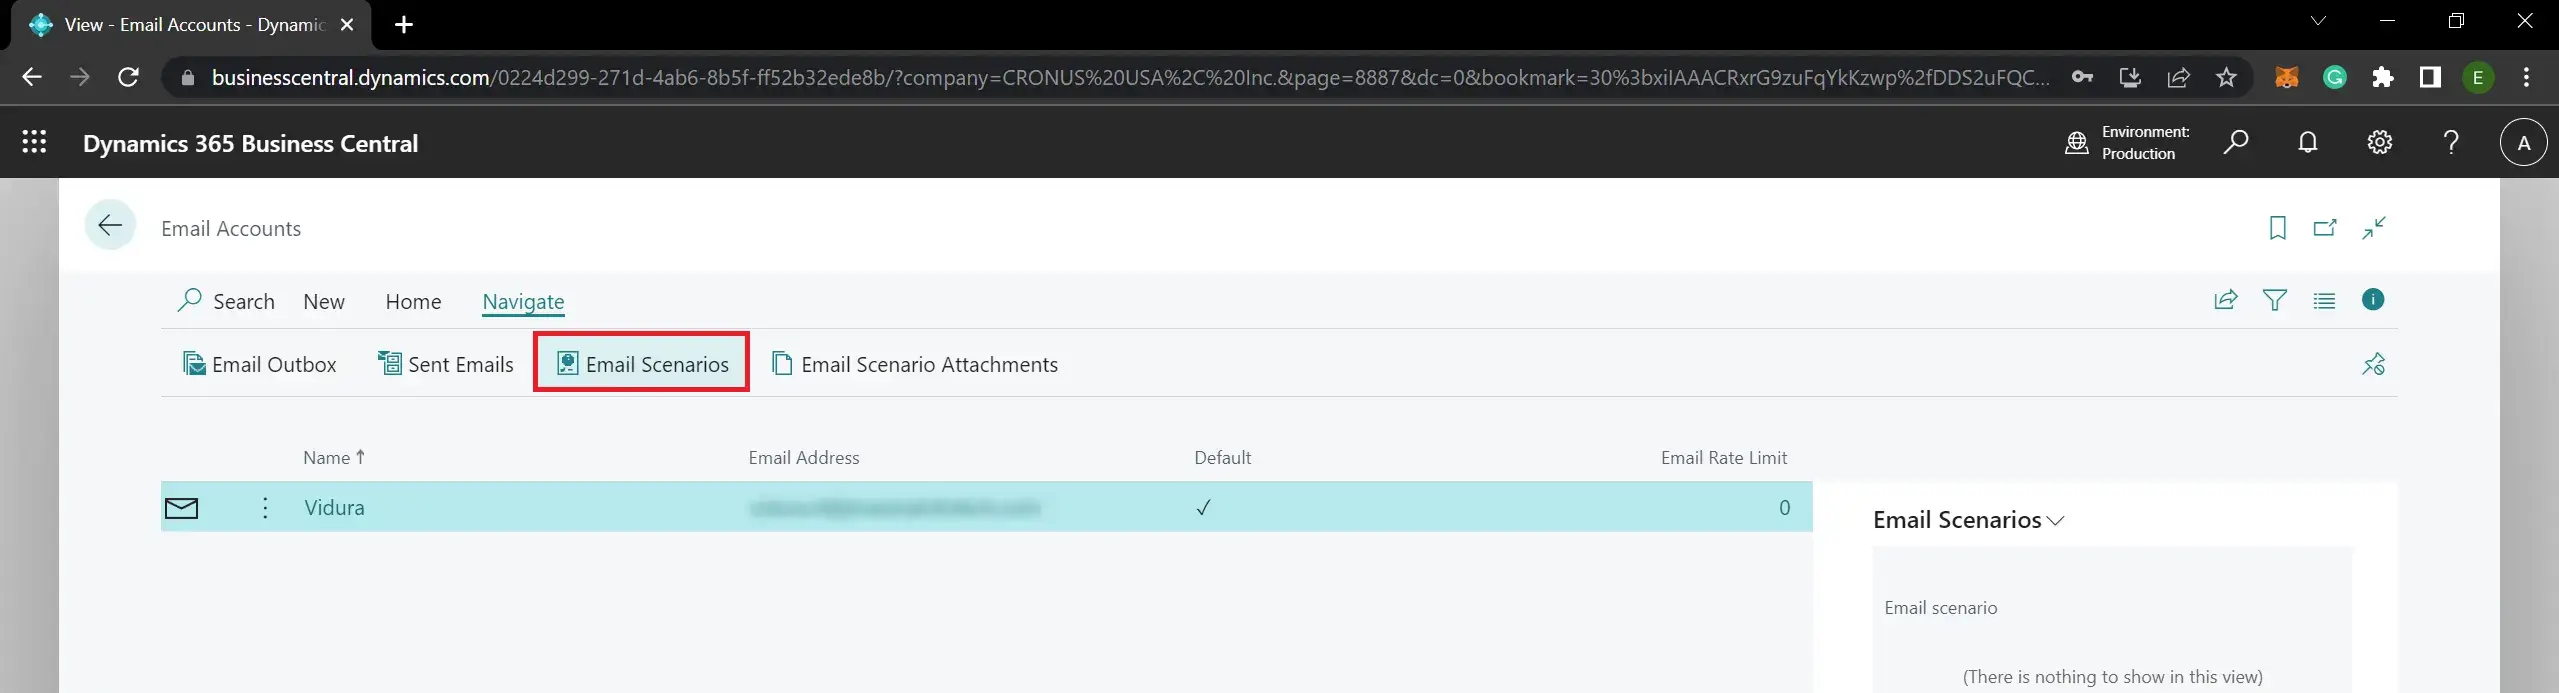
- Go to the Email Accounts page:
- Here you can see the list of created email accounts. Select the relevant email account and click the Email Scenarios action in Navigate tab:

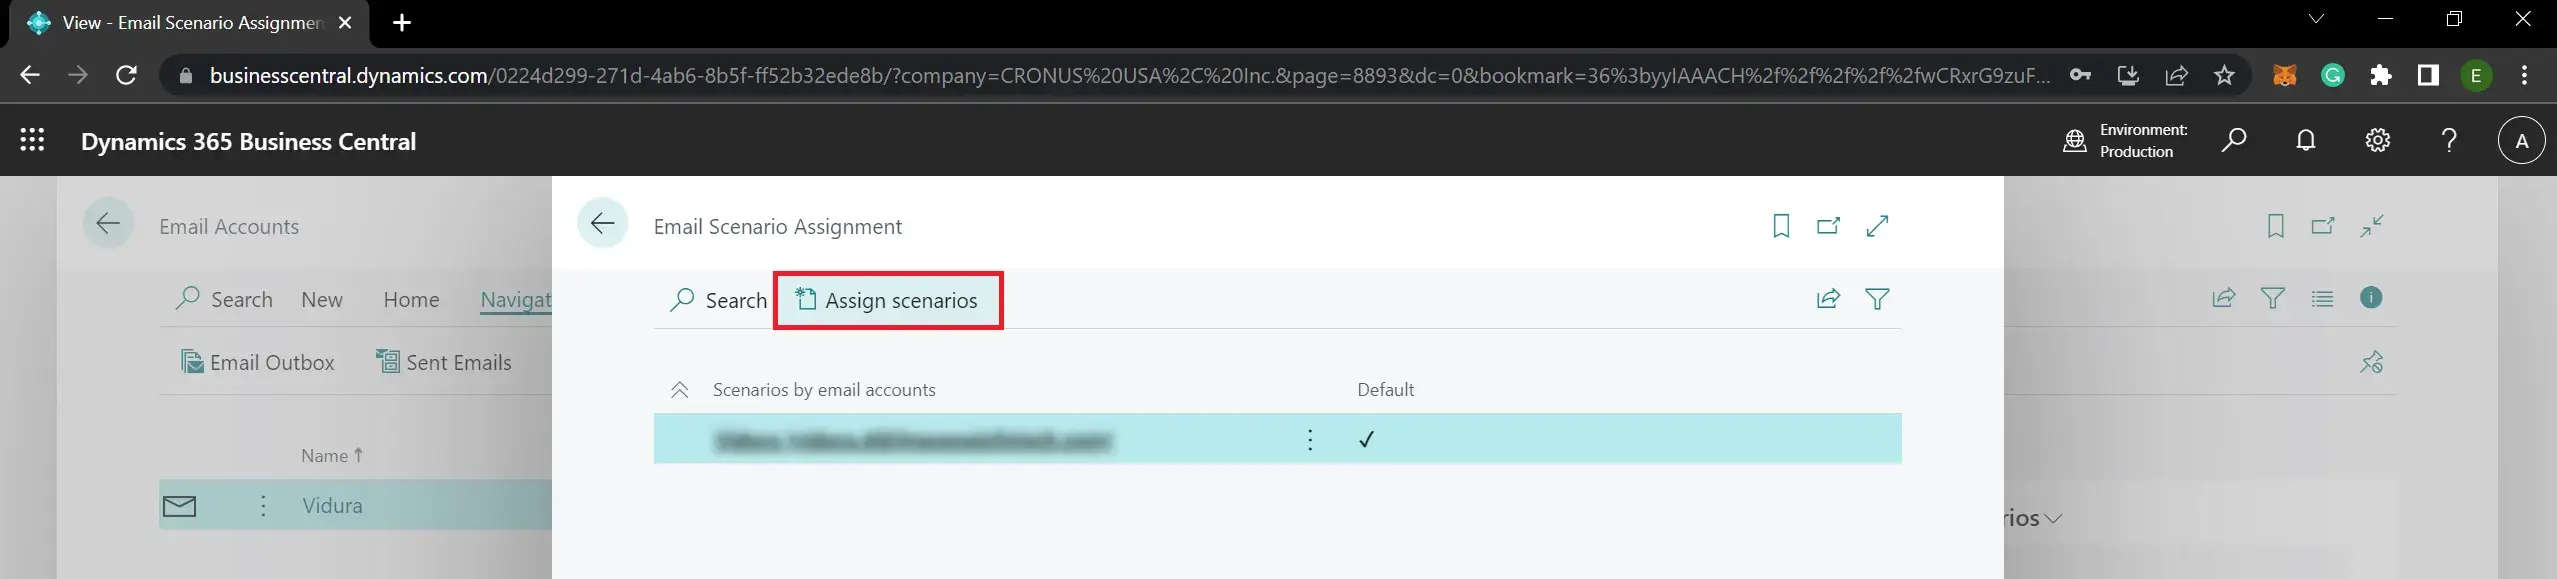
- Click Assign scenarios:

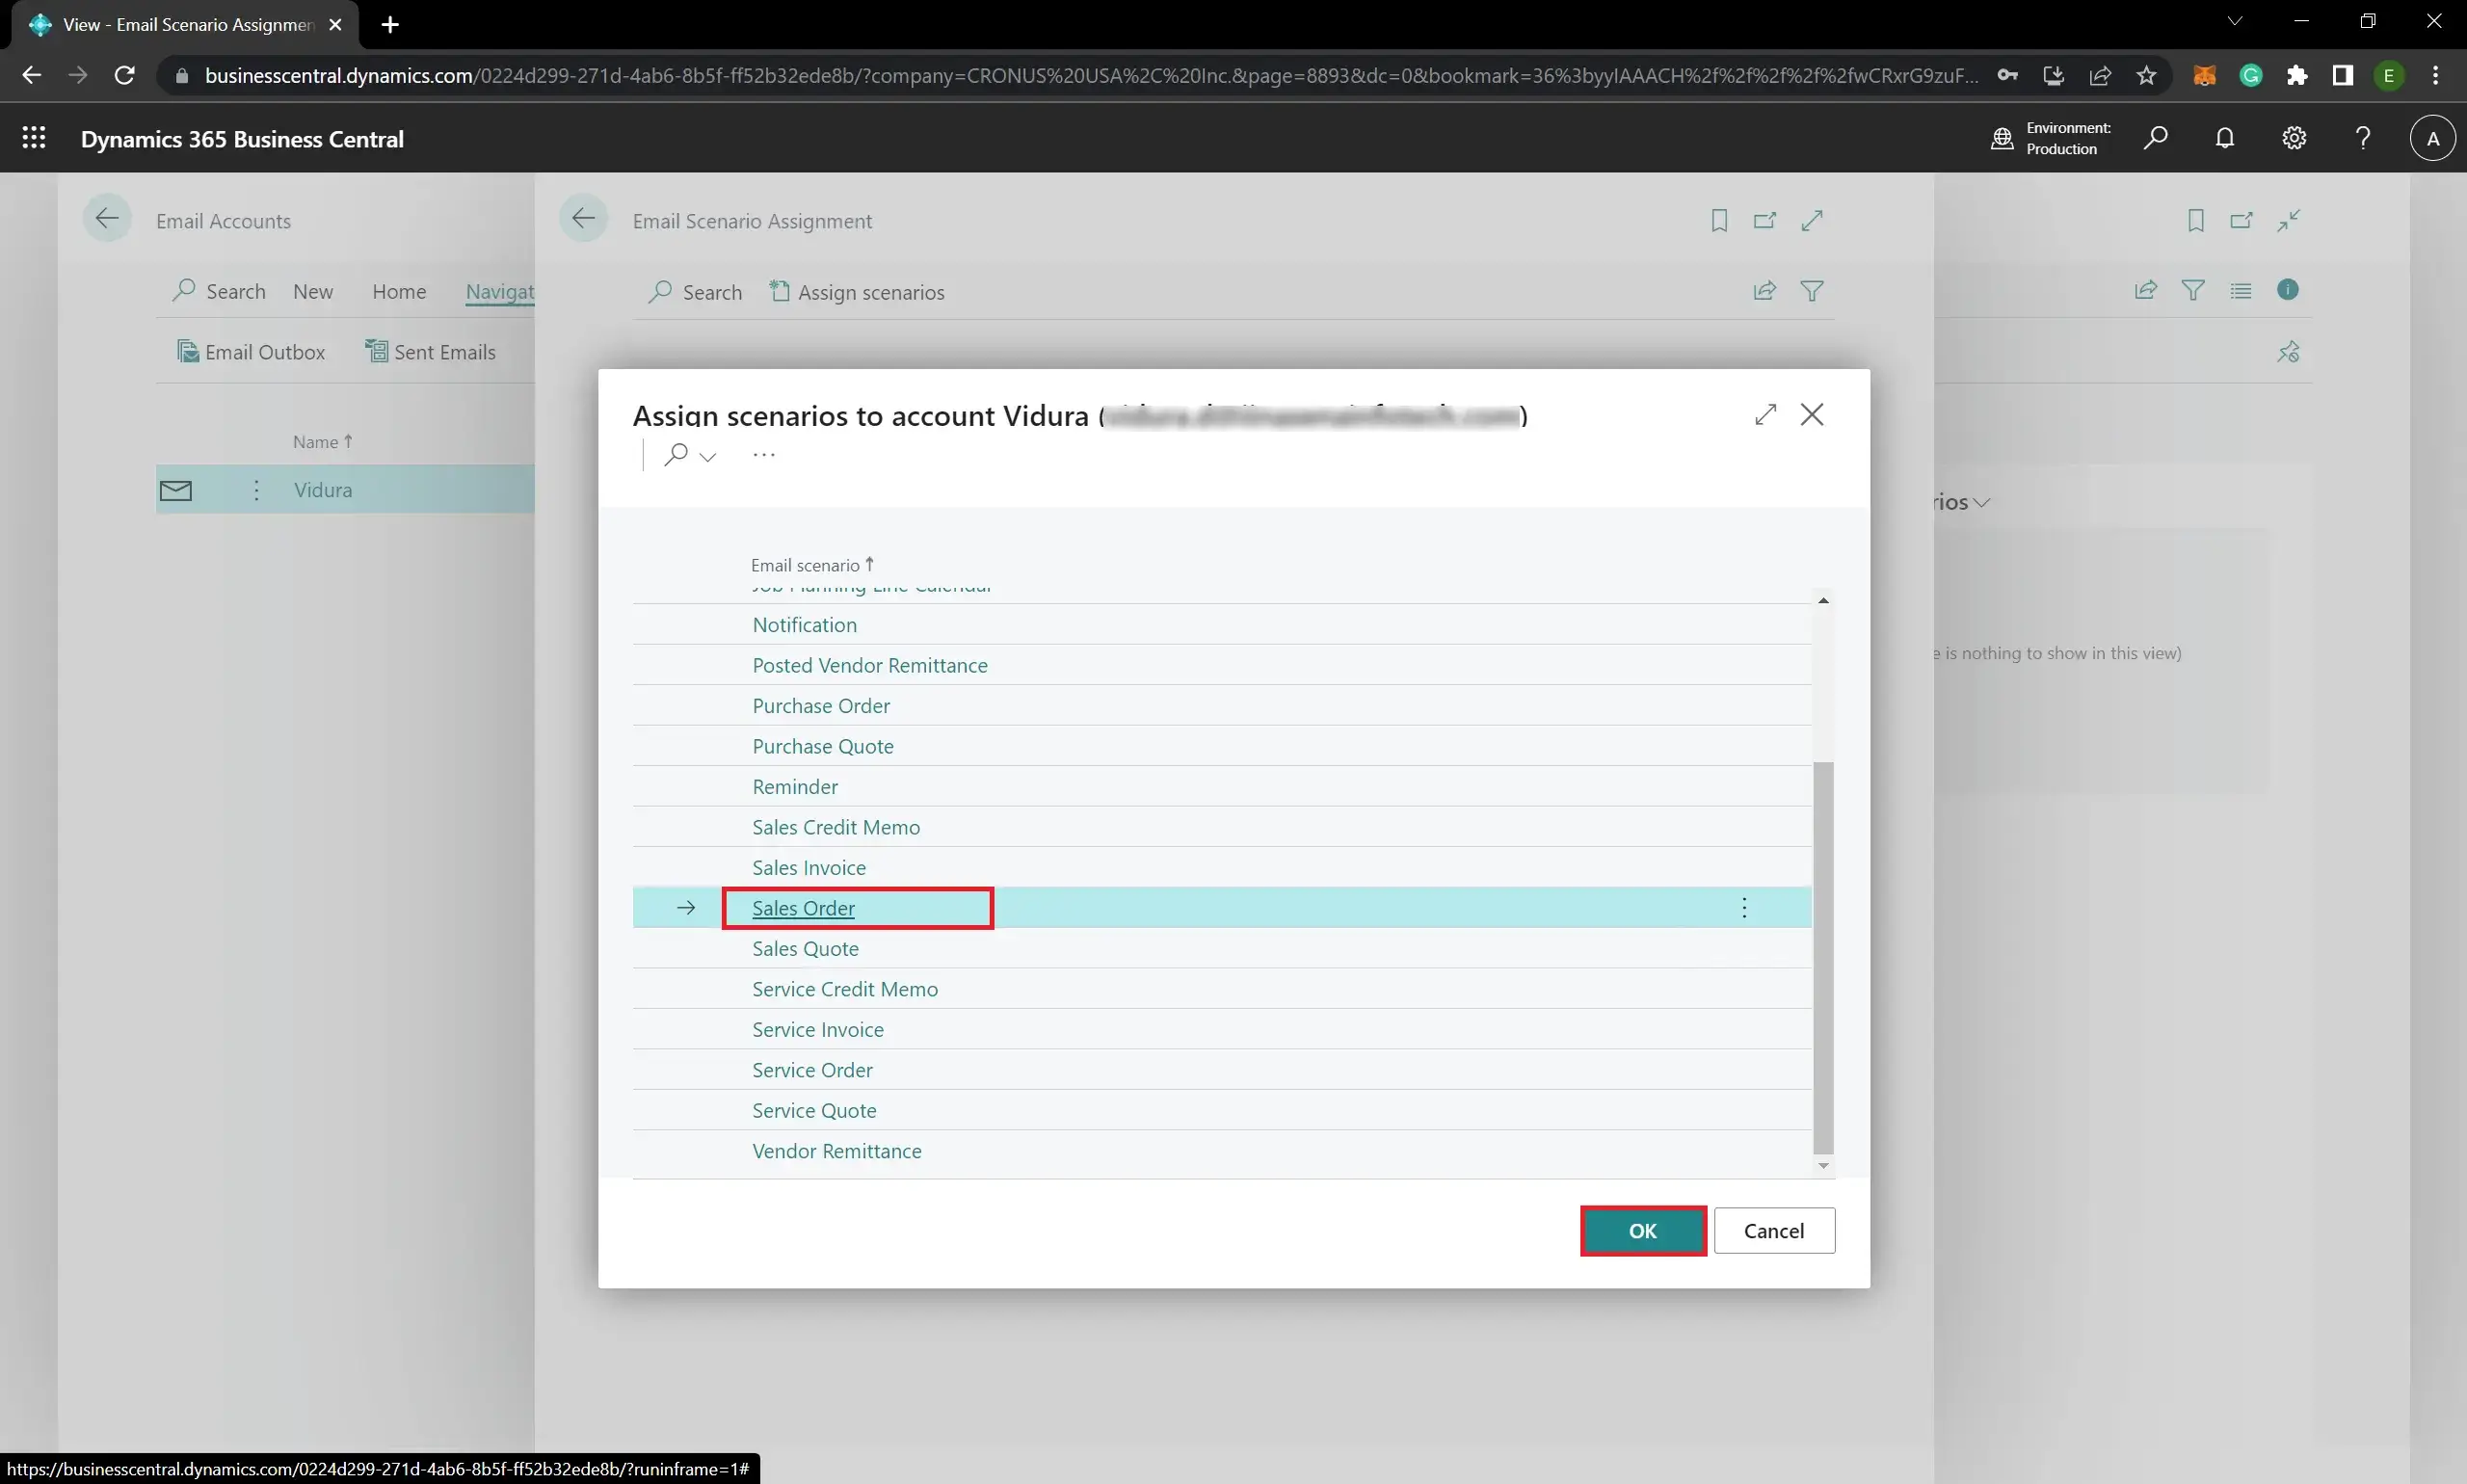
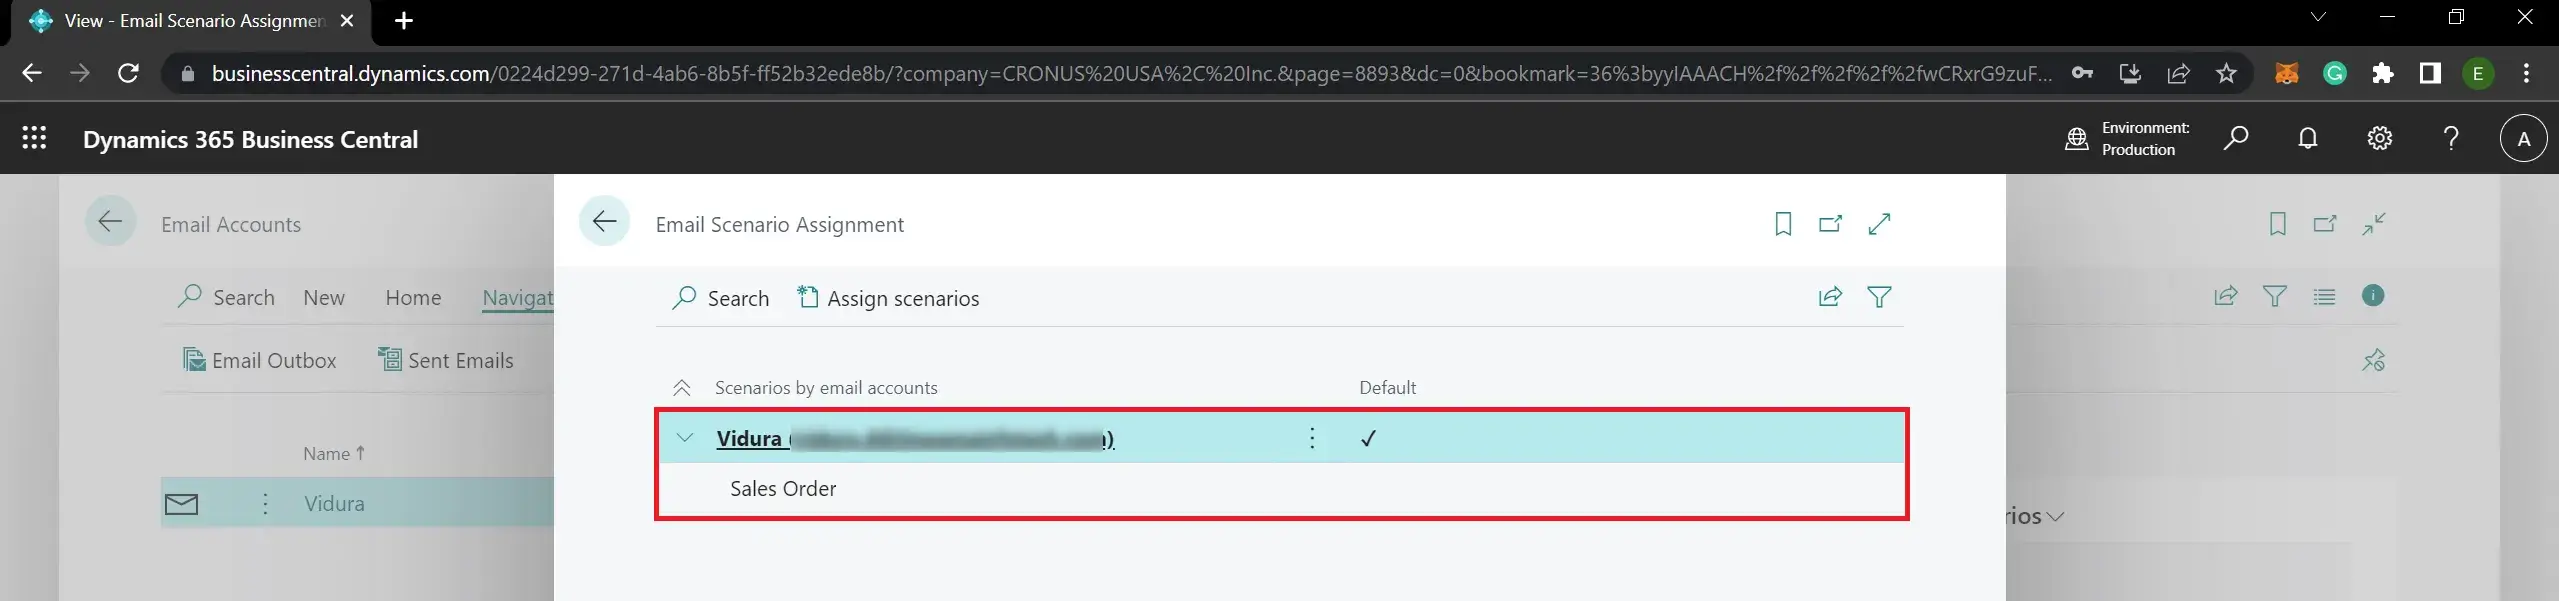
- Finally select scenarios that you want to assign (I select the Sales Order scenario) and click OK:

Vidura Dananjaya
Senior Solutions Architect - Microsoft Dynamics Navision / Microsoft Dynamics 365 Business Central and freelance developer. (The admin of NAVUSER)